You have 0 items in your shopping cart
back
Standard Size Photo Prints
Poster Prints
Wallet Prints
Collages
Layflat Hardcover Photo Books
Layflat Leather Photo Books
Layflat Fabric Photo Books
Layflat Softcover Photo Books
Layflat Leather Photo Albums
Layflat Hardcover Photo Albums
Layflat Metal Cover Photo Albums
Metal Prints
Canvas Prints
Framed Prints
Wood Prints
Standout Photo Prints
Top Hanging Calendars
Centerfold Calendars
Desktop Calendars
Blog
Category:
Sort By:
General
Celebrate Earth Day in Print | 5 Ideas
Wedding
Meet Susan Stripling | Wedding Photographer
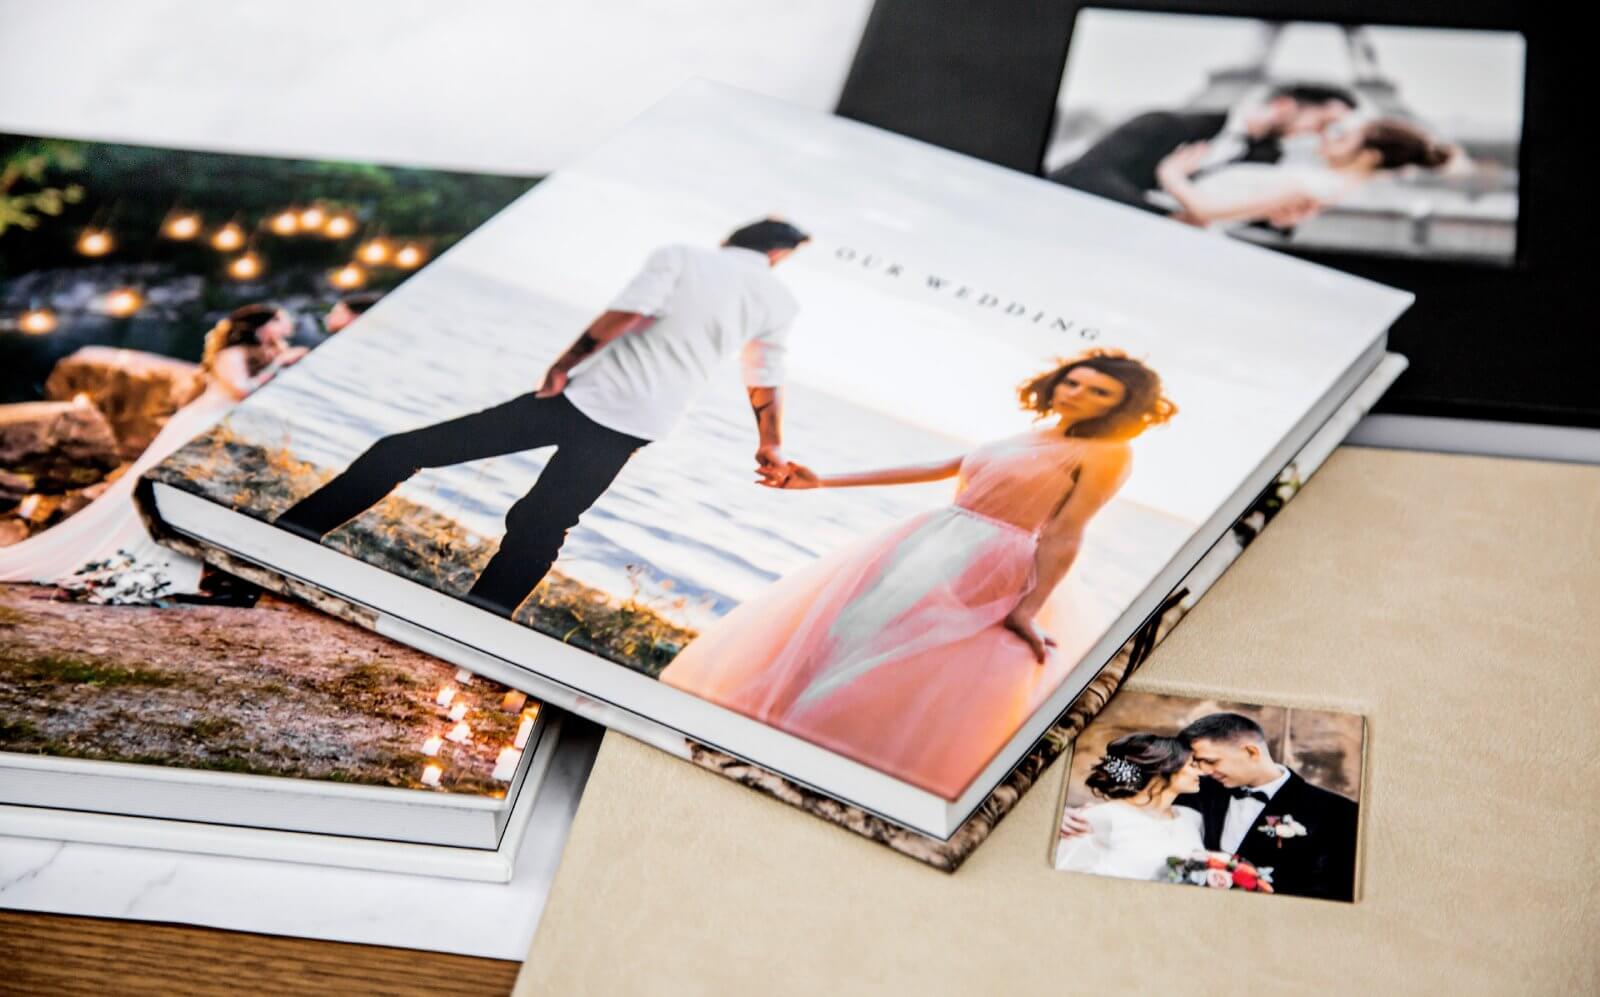
Elegant Minimalism: Creating a Timeless Layflat Wedding Photo Album
Photo Books
Introducing | Easy Photo Books
Photography Tips
How to Photograph the Solar Eclipse
Gift Guides
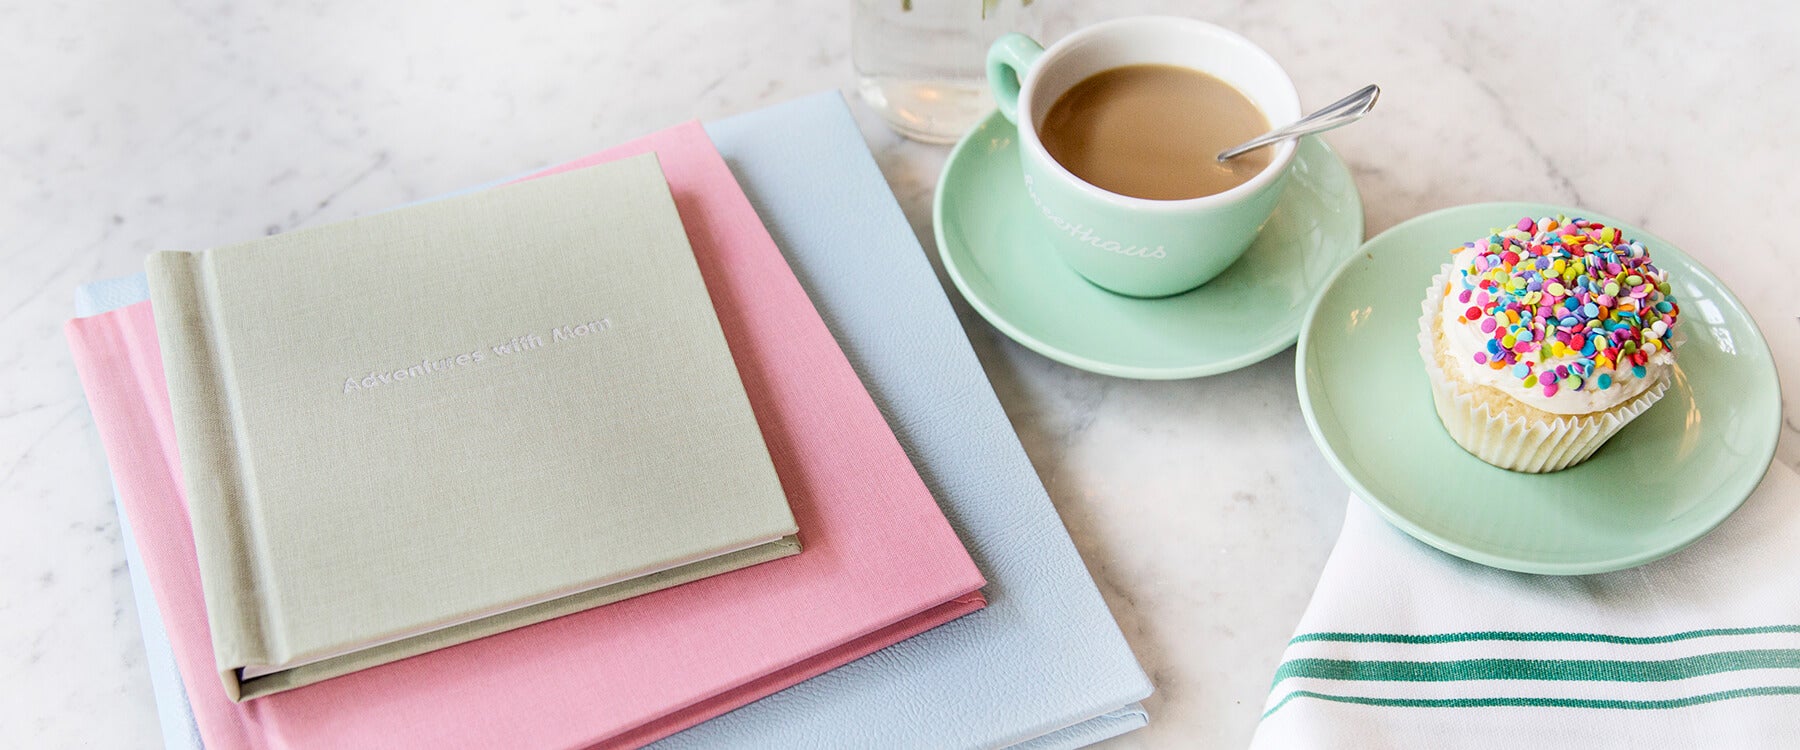
Mother’s Day Gifts: 12 Gifts Under $100
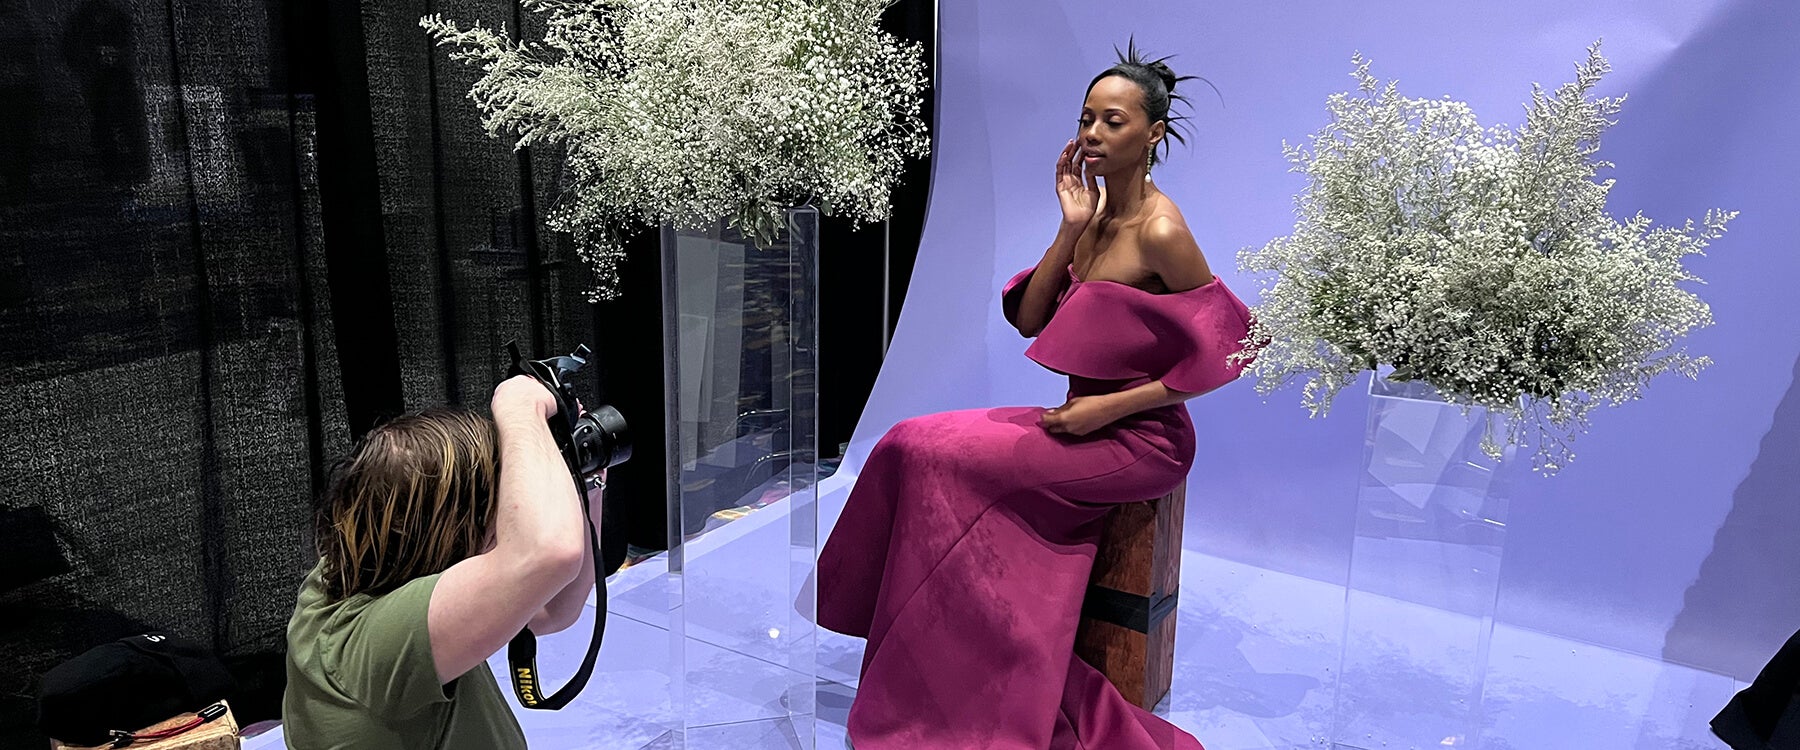
Behind the Scenes at WPPI
Home Decor
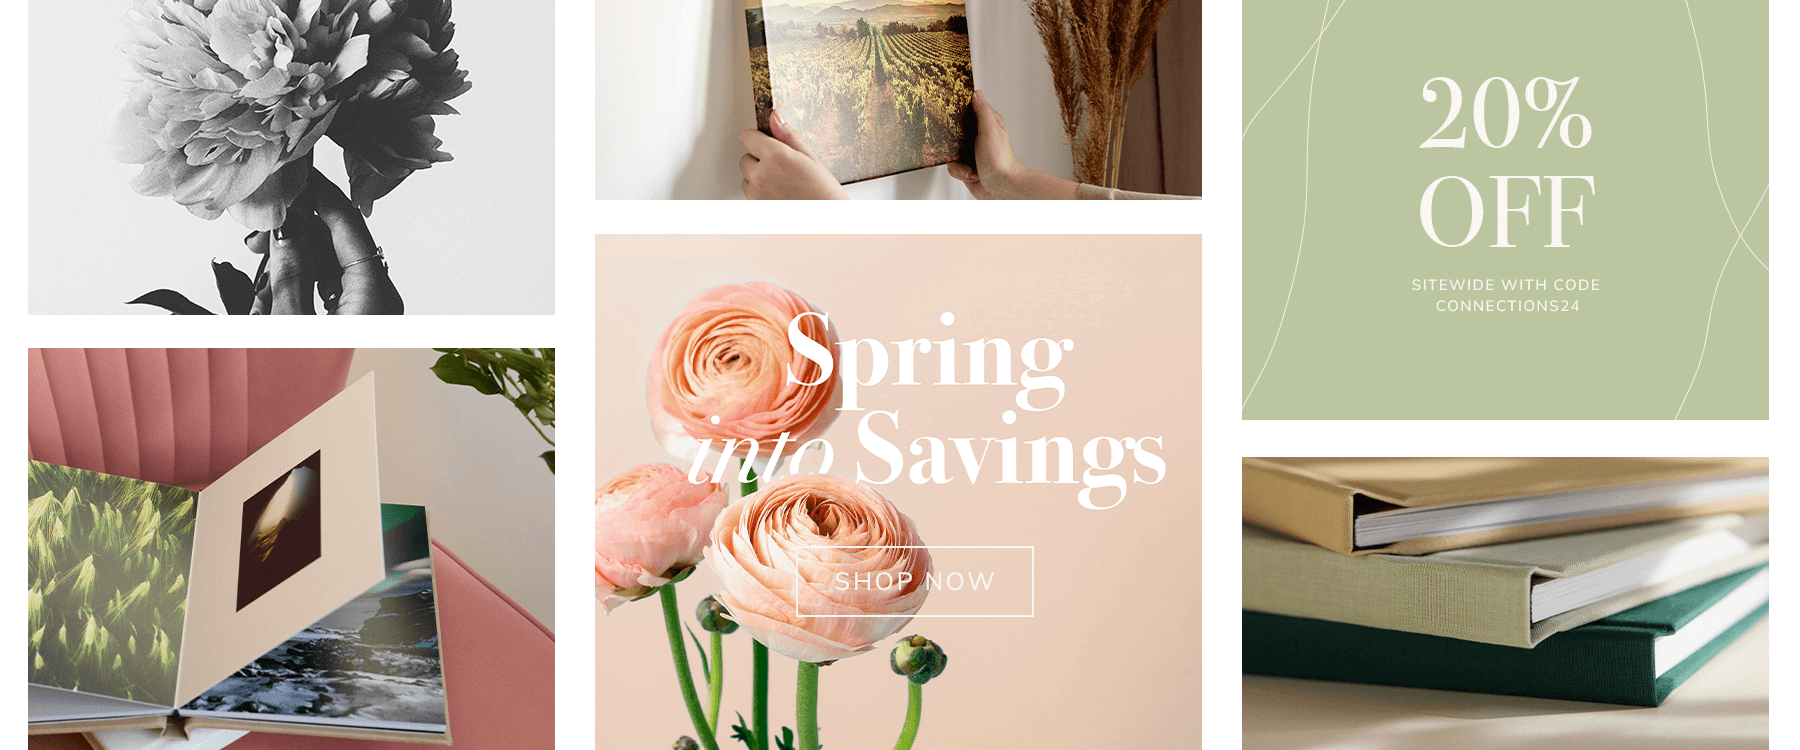
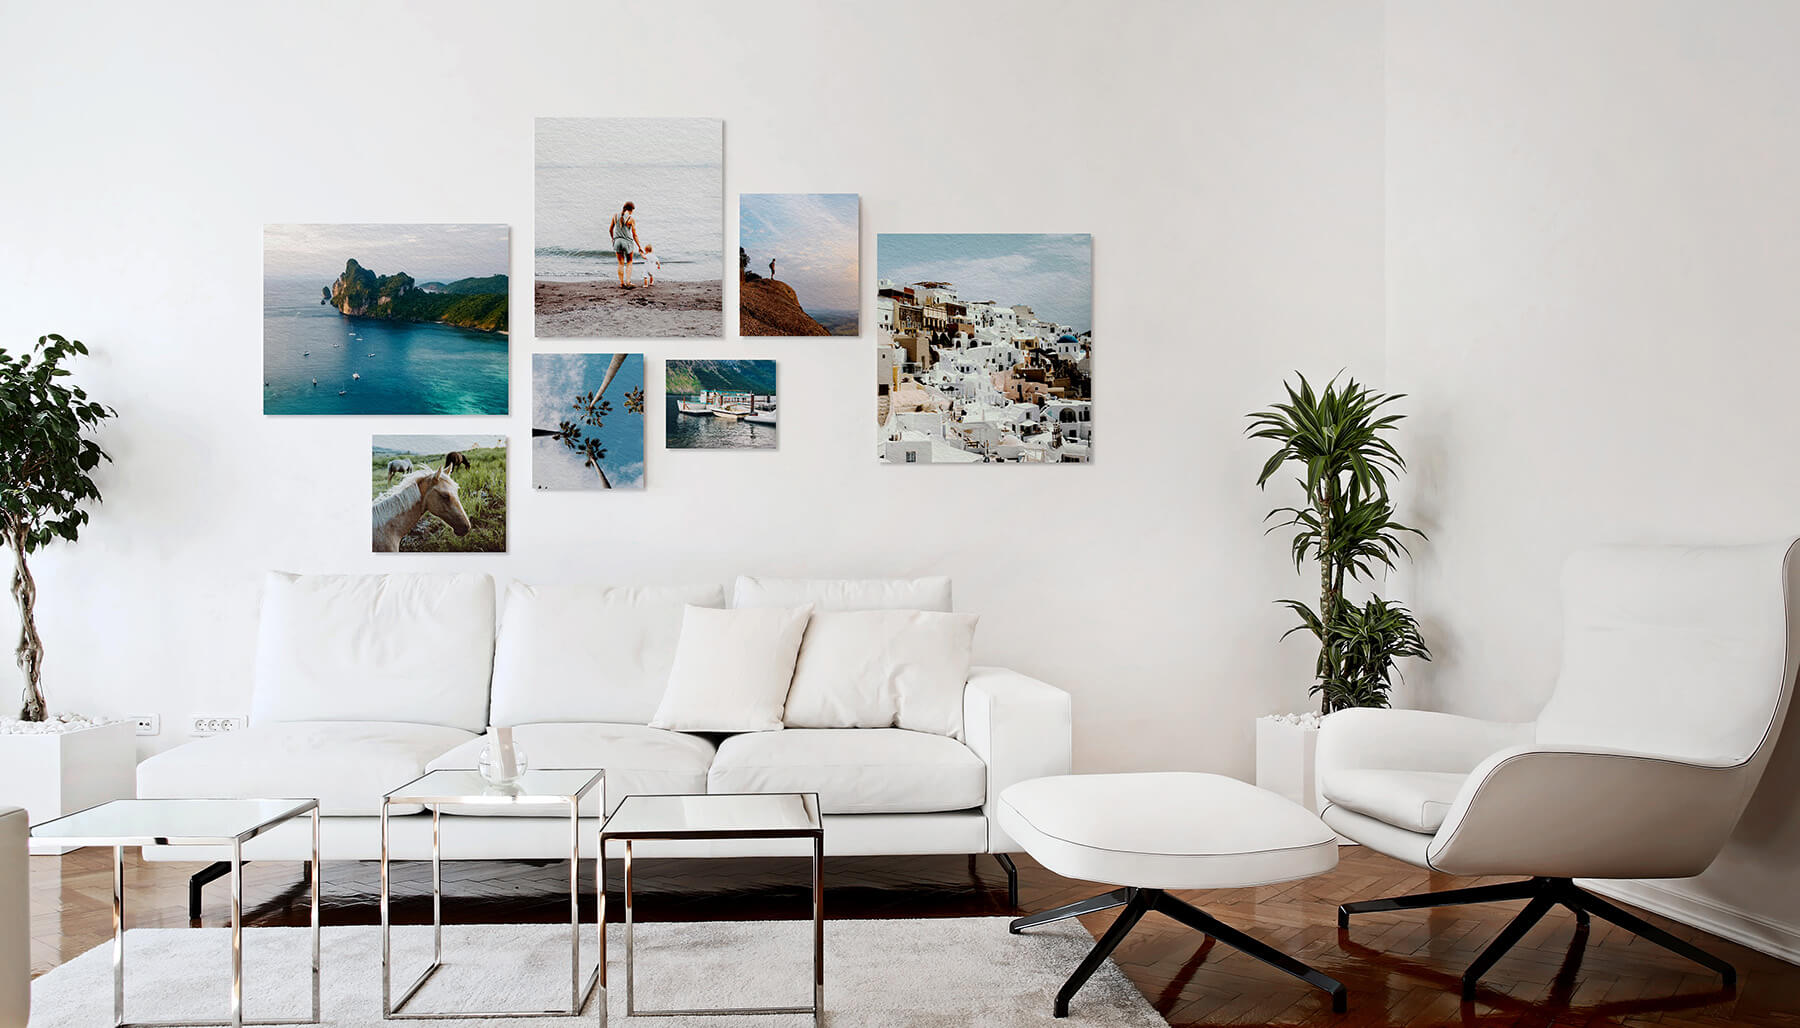
Spring Refresh: Our Best Tips
Artist Spotlight
Artist Spotlight | Esembly Baby Founders
We Create with Printique
Artist Spotlight | Sarah Oliphant
Dance with Me
Prints
8 Printique Features and Products You May Have Missed
Luminaries Art Show at 19th Street Gallery
The Cutest Mini Valentine’s Day Gifts
Space| The Final Frontier for Richard Zheng and Printique
Printing Family Photos with Photographer Elizabeth Stahn
10 Tips for Making the Perfect Baby Photo Book
Printing Baby Photos | Small Steps Big Moments
New York Strong
FIRST IMPRESSIONS | Discovering the Joy of Parenthood with Esembly Baby and Printique
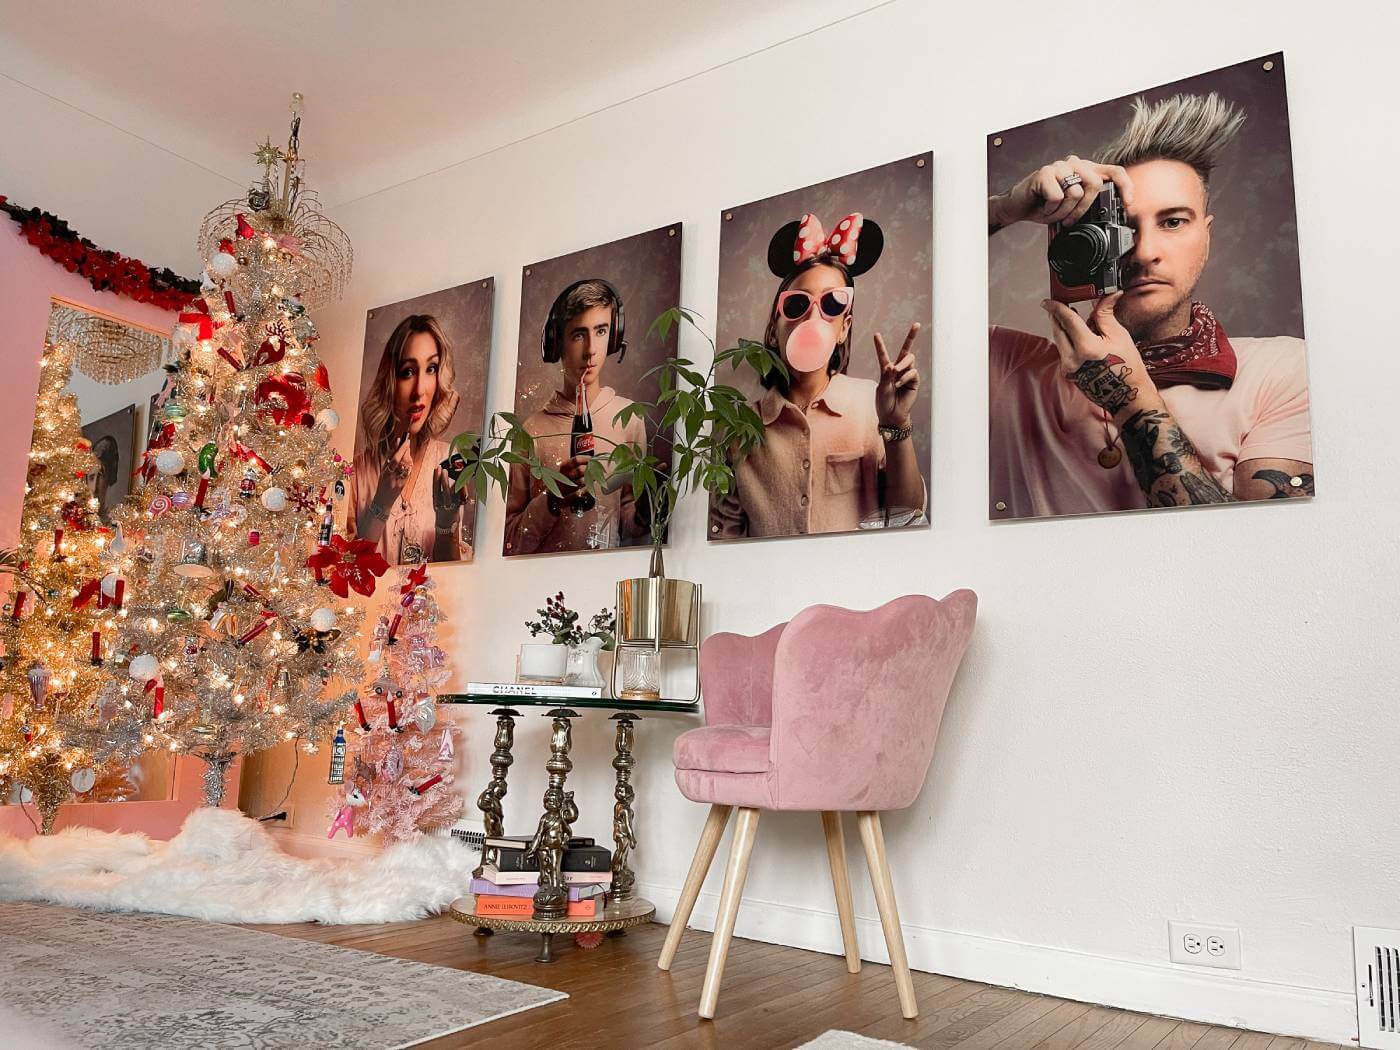
Acrylic Prints
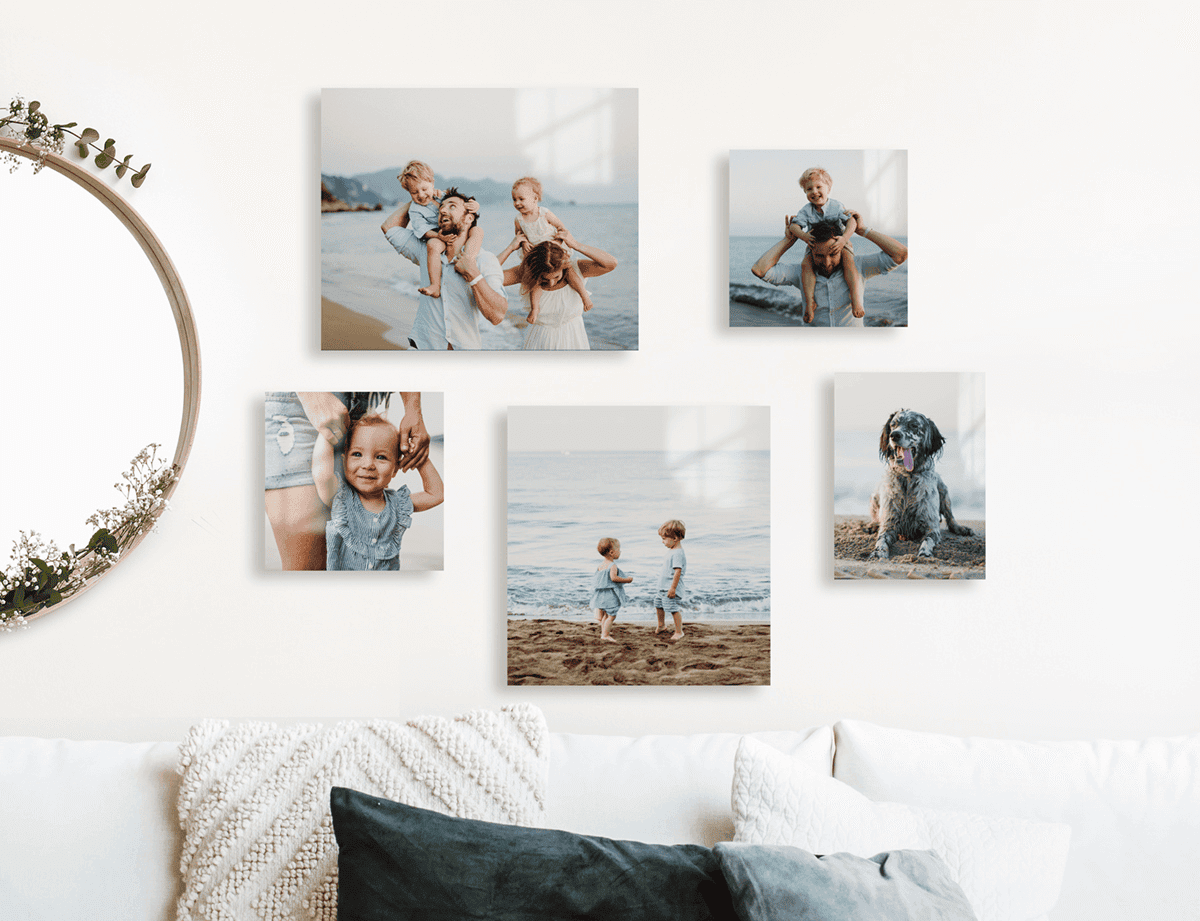
Decorate Your Home With Year End Memories
Artist Spotlight | Lillian LaSalle | Talent Manager | Film Producer
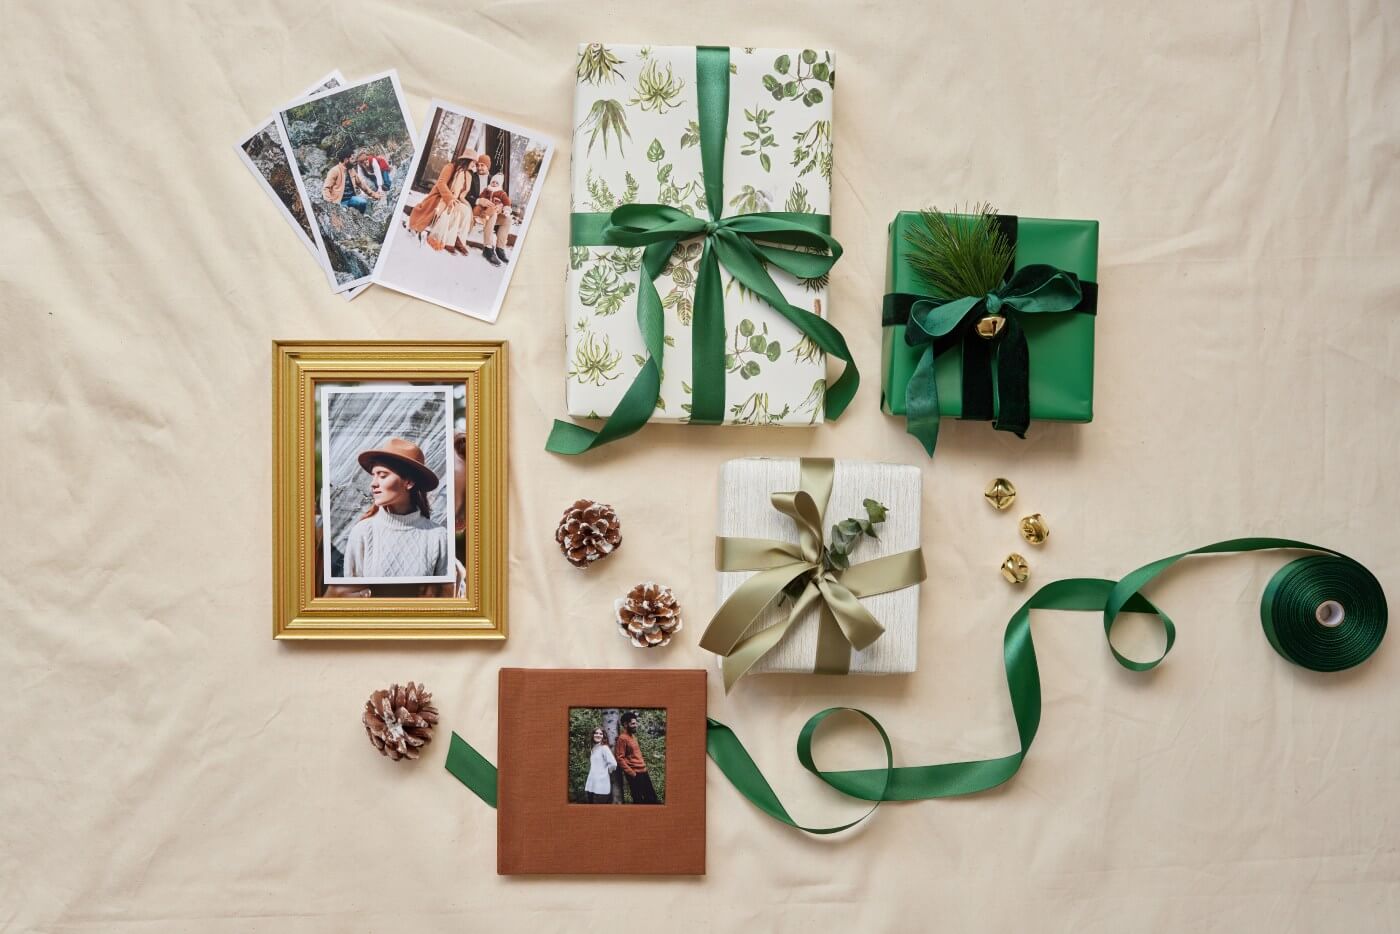
Last Minute Holiday Photo Gifts | Printique Hacks
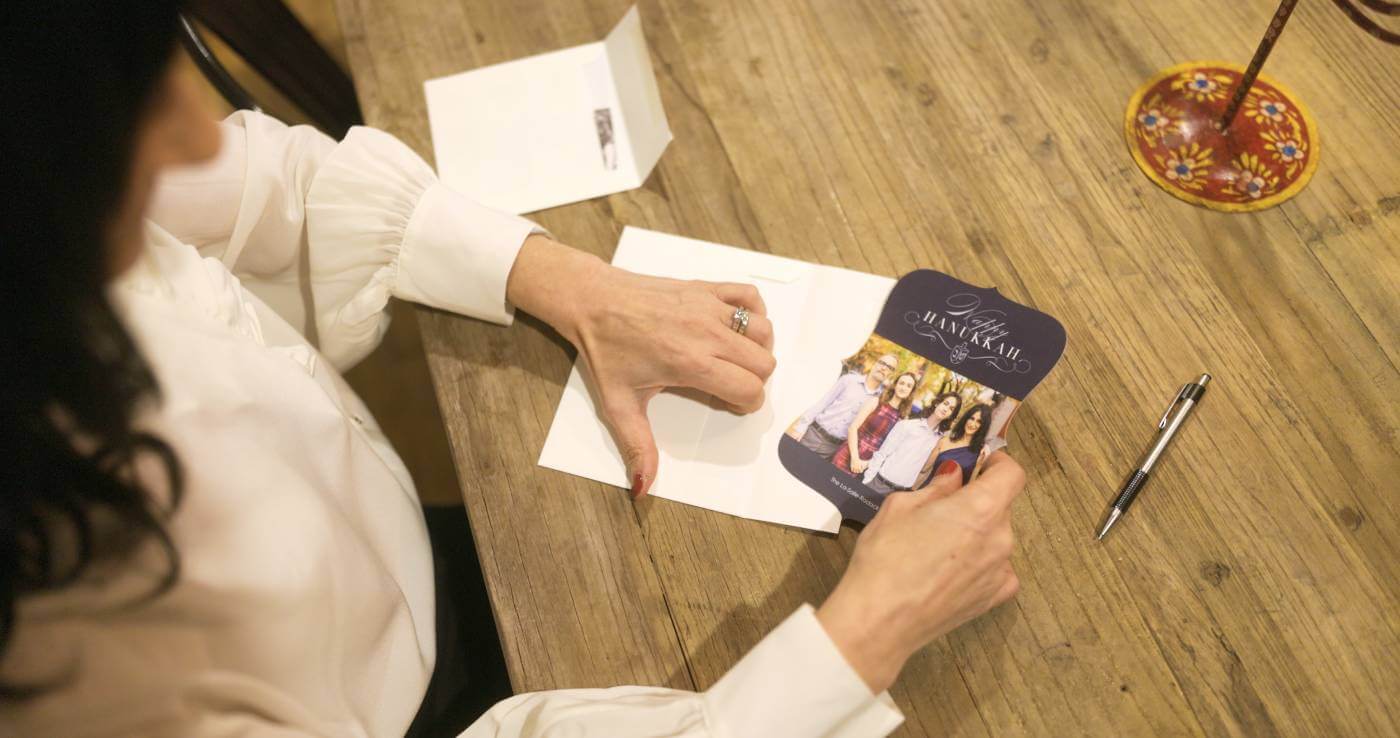
Greeting Cards
Hanukkah Moments in Print